How to Apply CPU Thermal Grease
Do you know how to clean off and apply CPU thermal grease? Learn the correct method of applying thermal compound with our CPU thermal paste application guide.
Incorrect thermal grease application is one of the most common mistakes made by computer builders and upgraders. In most computer forums and discussion boards, it's common to find users complaining about higher temperatures and overheating after applying thermal compound to a CPU.
In most cases, it's not the user's fault at all. Who can blame them when even tech sites and blogs get it wrong sometimes? In fact, some sites recommend incorrect methods that may even damage the motherboard and other components.
How to Remove CPU Thermal Grease
Before applying thermal grease, It's essential that you remove all thermal grease residue from the contact surfaces of the CPU and heat sink.
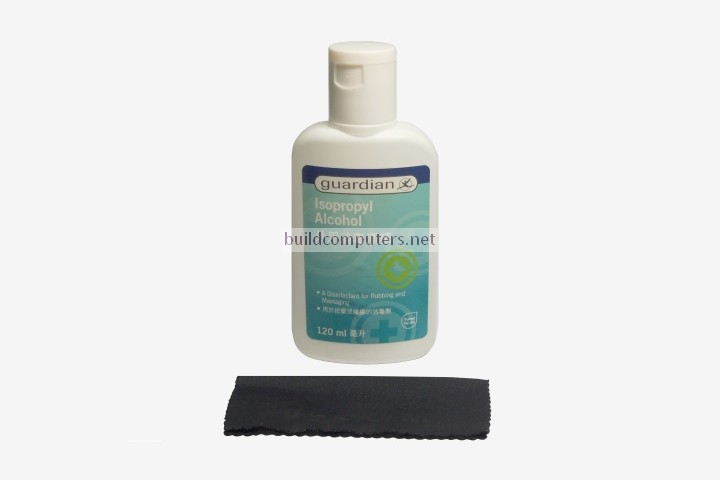
Isopropyl alcohol (see image below) is the ideal solution for cleaning off thermal paste. 99% isopropyl alcohol works best, but anything with 70% concentration or higher should do the trick as long as it doesn't contain any fragrances or additives.
While acetone is even more effective for removing thermal compounds, we do not recommend it because in high concentrations, it can corrode plastic and cause damage to the CPU socket and motherboard.

Lint free and microfiber cloth (see image above) are the best material for wiping off
thermal grease, followed closely by coffee filters. They are recommended
because they won't leave any fluff after wiping. For best results, we use and recommend MagicFiber Cleaning Cloth from Amazon.
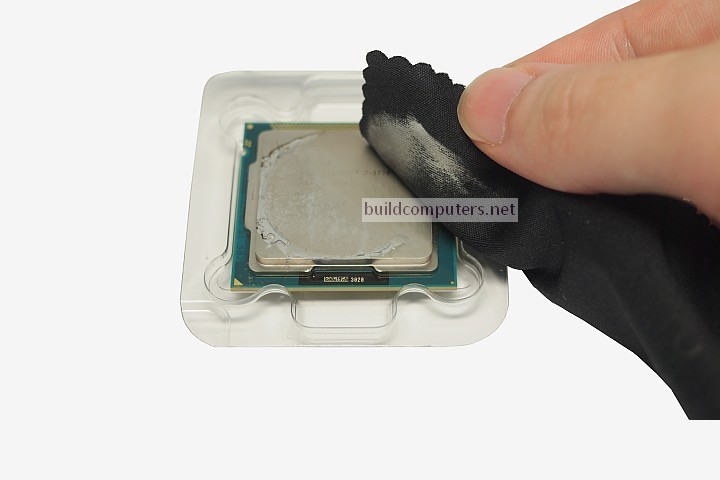
How to clean off CPU thermal grease: Detach the CPU from its motherboard socket. Pour a small quantity of isopropyl alcohol onto a stamp-sized area of the wipe cloth. Apply light pressure with your finger tips when cleaning off the thermal paste. Isopropyl alcohol will dissolve the paste after a few wipes. Repeat the same procedure for the CPU heat sink.
Do not attempt to scrape off the thermal paste with a credit card, cardboard or razor blade(!). You may scratch the contact surfaces of the CPU and heat sink, reducing their heat dissipation capabilities.
The image below demonstrates the correct method to clean off thermal paste from the CPU. The black microfiber cloth has been soaked with isopropyl alcohol:

How to Apply CPU Thermal Grease
As explained earlier in our "What is CPU Thermal Paste" article, the purpose of applying thermal paste is fill up any air pockets between the CPU and heat sink. What we want to achieve here is to coat the contact surfaces with a thin and even film of thermal grease.
If the thermal grease layer is too thick, it will impede CPU heat dissipation because the grease is a poor thermal conductor compared to the two metal contact surfaces. Excessive CPU thermal paste application can cause CPU temperatures to increase by up to 3 to 5°C.
Applying too much thermal paste can also cause it to spill onto the motherboard, causing electrical damage if you are using a metal-based thermal compound.
Method 1: Thin Vertical Line Across CPU
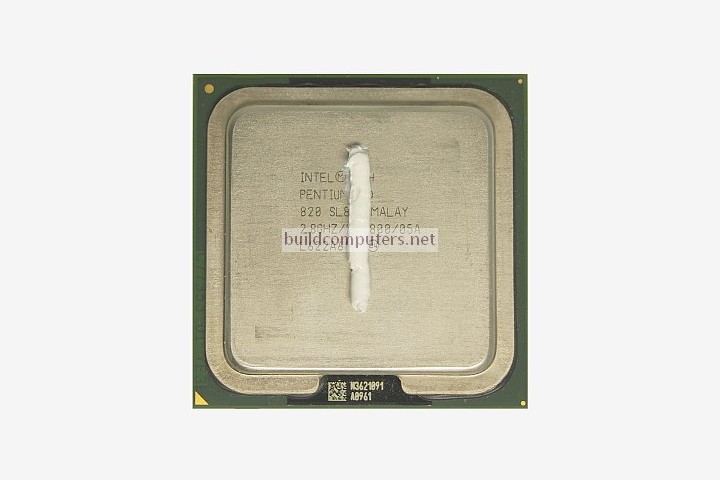
Apply a thin vertical stripe (1 to 2 mm in thickness) across two-thirds of the CPU as shown in the image below:
Method 2: Small Dot at Center of CPU
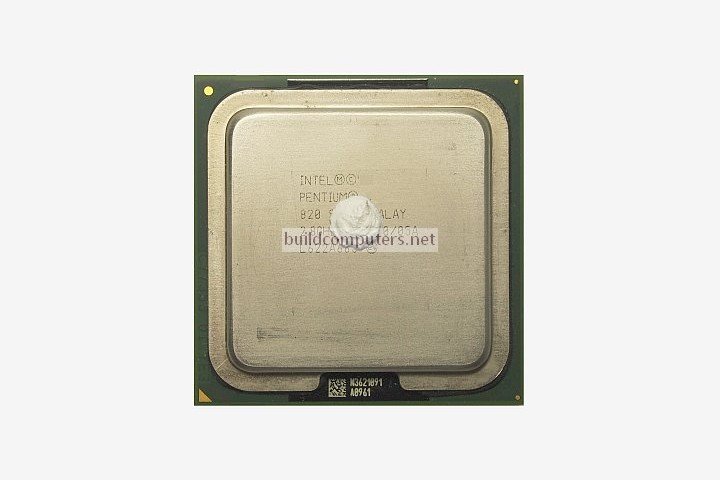
The correct amount of thermal grease to apply should be half the size of a pea (see image below). The pressure from the heat sink plus the heat of the CPU will spread the thermal grease evenly over time.
Some people recommend applying a rice-sized grain, but that tiny quantity may be insufficient to cover the entire CPU surface.

If your CPU thermal paste is very thick and viscous, then the line method works better. If your thermal compound doesn't come in a syringe or is very fluid, then the dot method will be easier. Otherwise both methods will work equally well in most other cases.
SEE ALSO: What is CPU Thermal Paste?
CPU GUIDE
- What is a CPU and What Does It Do?
- Recommended Motherboard CPU Combos
- Intel CPU Socket Types
- AMD CPU Socket Types
- How to Check CPU Temperature
- Intel CPU Temperatures - Idle, Load, Max Temps
- AMD CPU Temperatures - Idle, Load, Max Temps
- What is CPU Thermal Paste?
- How to Apply CPU Thermal Grease
- How to Install a CPU
- How to Install a CPU Heatsink Fan

