Installing a CPU - How to Install a CPU
A CPU is the brains of your computer, but don't worry installing a CPU isn't brain surgery. Learn how to install a CPU today with these simple steps.
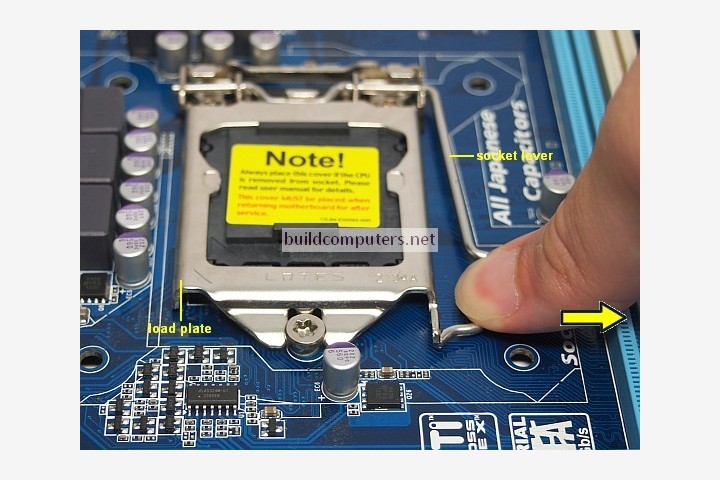
All motherboards should come with a plastic cover that protects the CPU socket. This cover has to be removed to free up the socket for your CPU. To begin your CPU installation, push the socket lever down and slide it to the right (see photo below).
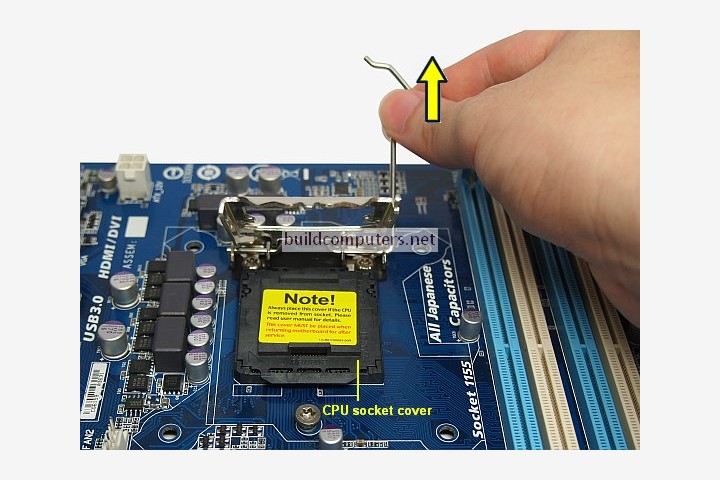
Lift up the socket lever and the load plate will pop up (see image below). You can now remove the CPU socket cover. Be sure to keep this cover - You'll need it when selling your motherboard or sending it back for repairs.
Remove the CPU from its plastic tab and insert it into the motherboard's CPU socket. When installing a new CPU, be sure to hold it by the sides and avoid touching the golden pins at the bottom. See the photo below for the correct way to hold a CPU:
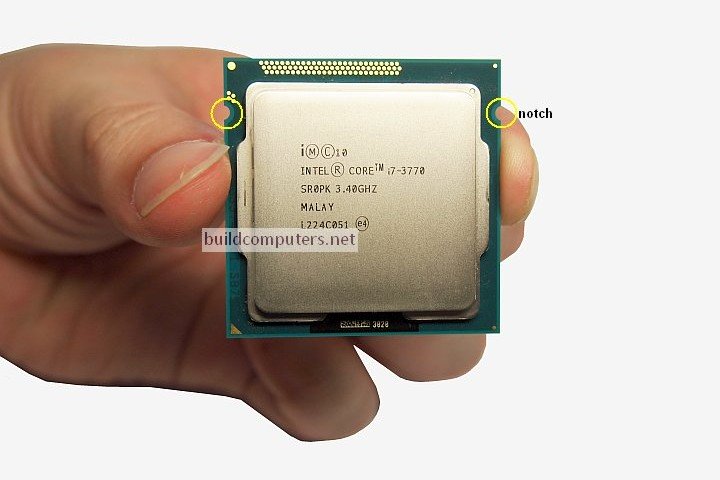
Gently align the two CPU notches (circled in yellow above) with the two protruding socket keys (circled in yellow below). Gently set the CPU onto the socket.
Note: Do not apply any force at this stage or you may bend the CPU/socket pins and damage them.
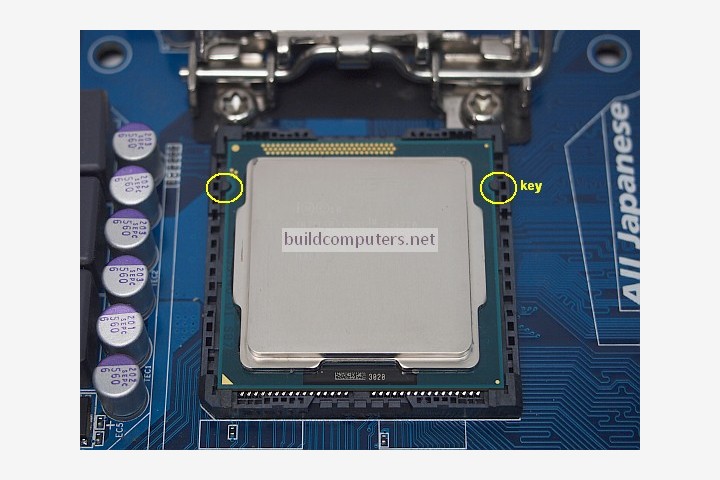
To confirm that the CPU has been correctly seated, lightly rest your finger on top of the CPU and gently move it around. The CPU should not budge at all if it has been correctly inserted into the socket.
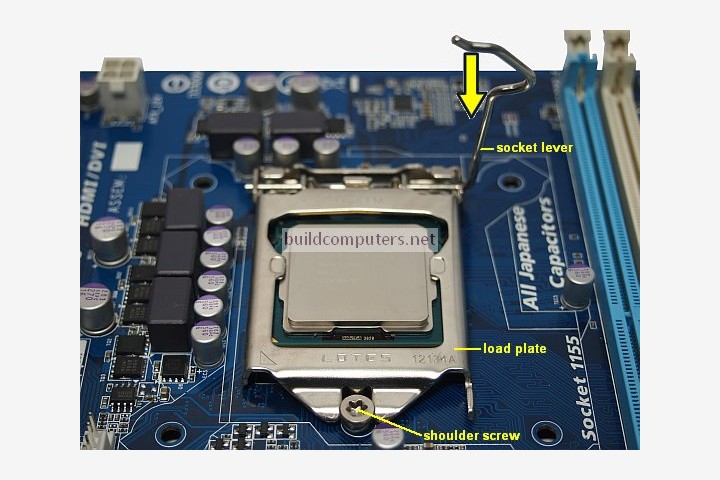
Now lower the load plate and slide it under the shoulder screw. Once this is done, lower the socket lever under it touches the motherboard and slide it left to lock it into place. See image below:
NEXT: Installing a CPU Fan
HOW TO BUILD A COMPUTER
- Should I Buy or Build a PC?
- Parts to Build a Computer
- Installing a CPU Processor
- Installing a CPU Fan
- Installing RAM Memory
- Installing a Motherboard
- Installing a Power Supply
- Power Supply Connectors
- Installing a Hard Drive
- Installing a DVD Drive
- Installing a Graphics Card
- Computer Cable Management
- Computer Cable Connections

