Installing a Power Supply - How to Install a Power Supply
Are you installing a power supply into a computer? Learn how to install a power supply today with these simple steps.
With its big assortment of cables and connectors, a power supply unit (PSU) can appear daunting to hardware newbies, but PSU installation is often easier than most would expect.
Installing a computer power supply is a two step process:
- Secure the power supply unit inside the computer case (explained below).
- Connect the power supply cables to the other internal components.
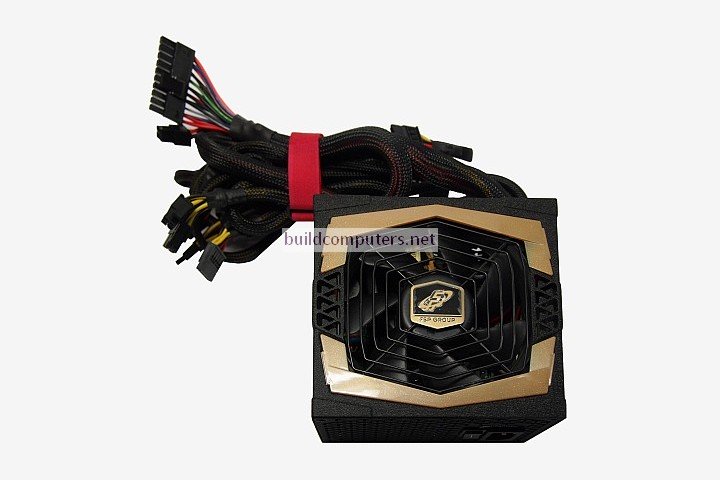
Here we have a standard ATX power supply unit that can be found in most desktop computers:
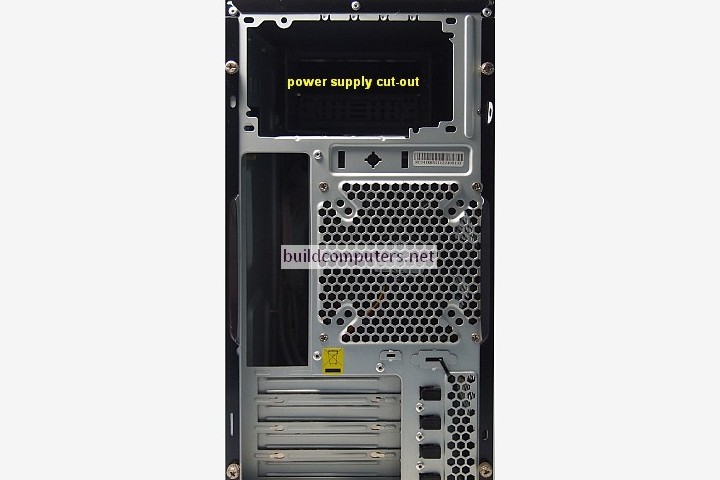
Look for the power supply cut-out at the back of the computer case - It should be located either at the topmost or the bottommost of the case:
Now place the power supply unit inside the computer case with its fan facing down (doesn't matter whether it's mounted at the top or bottom of the case). Slide the PSU towards the back of the case:
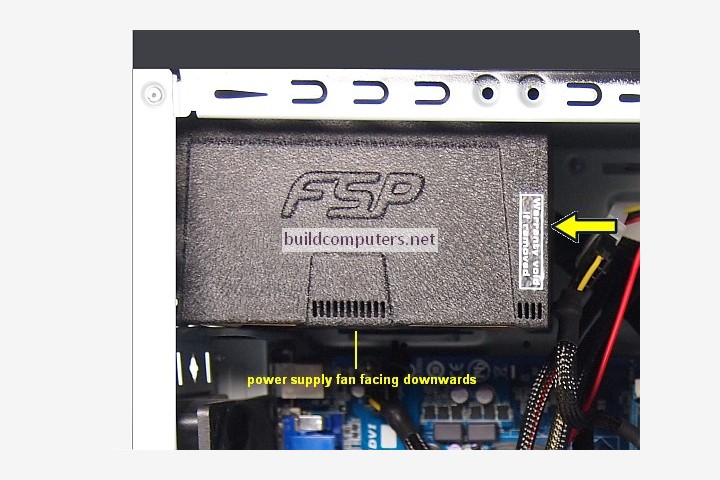
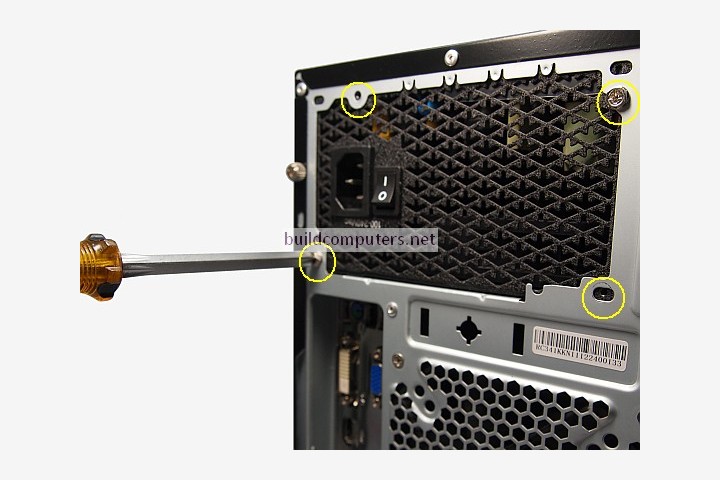
There are four screw holes at the back of your power supply (the side with the 1-0 on-off switch). Align them with the four screw holes at the back of the computer case (circled in yellow below). Using a screw driver, secure the power supply unit to the case with screws:
Now that the power supply is sitting pretty inside your computer case, let's move to the next step of a installing a PC power supply:
NEXT: Power Supply Connectors
HOW TO BUILD A COMPUTER
- Should I Buy or Build a PC?
- Parts to Build a Computer
- Installing a CPU Processor
- Installing a CPU Fan
- Installing RAM Memory
- Installing a Motherboard
- Installing a Power Supply
- Power Supply Connectors
- Installing a Hard Drive
- Installing a DVD Drive
- Installing a Graphics Card
- Computer Cable Management
- Computer Cable Connections

