Installing a DVD Drive - How to Install a DVD Drive
Installing a DVD drive in a PC only takes a few simple steps - Learn how to install a DVD drive in a computer today with this full picture guide.
First step of installing a DVD burner: Mounting it into a 5.25 inch bay of your computer case.
Before you can install a DVD burner into the bay, you'll need to remove the front 5.25 bay cover (see image below). Since most bay covers have their retaining clips hidden on the inside, we'll have to take out the front panel of the computer case first.
Most front panels are attached to their cases by tabs (circled in yellow below), so you'll need to look for any gap, handle or lever that allows you to pull the panel outwards. For this computer case, you will notice that that is a gap at the bottom of the front panel.
While it can take a bit of nudging to remove the front panel, you should never yank it too hard. One, you may break its plastic tabs. Two, you may damage the front panel connectors that are attached to it.
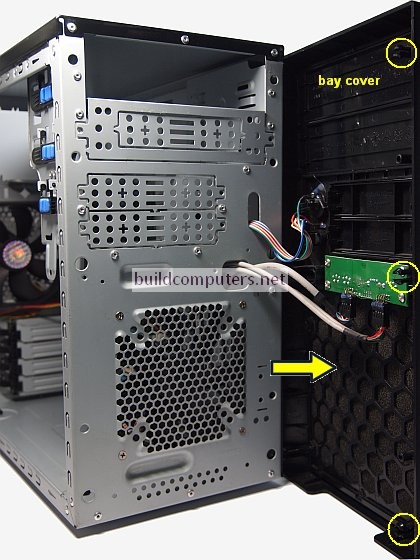
Now that the front panel has been taken off, you can go ahead and remove the bay cover. In most cases, you should be able to detach the bay cover by pressing on the retaining clips. With your bay cover out of the way, snap the front panel back into place.
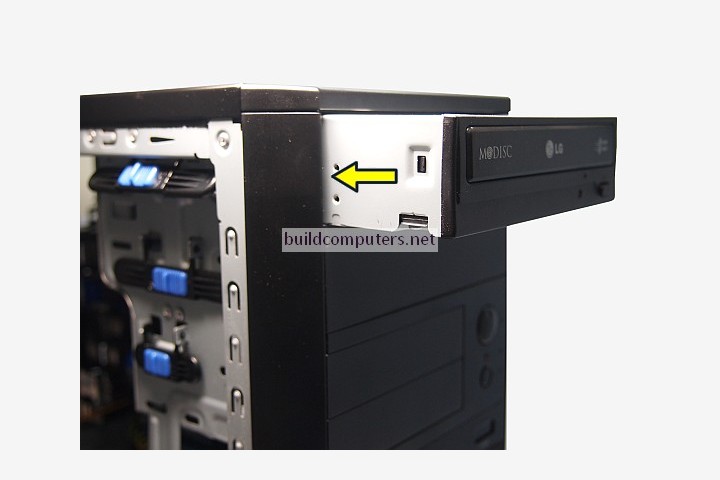
Take your DVD drive and slide it into the 5.25 bay, taking care to align the DVD drive's screw holes with the bay holes (see image below). Using a screw driver, secure the DVD drive to the bay with screws or toolless fasteners (that are included with your computer case).
Next step of installing a DVD drive: Connecting the drive to your computer.
You will find two L-shaped connectors at the back of a SATA DVD drive: A larger power connector (on the left) and a smaller data connector (on the right):
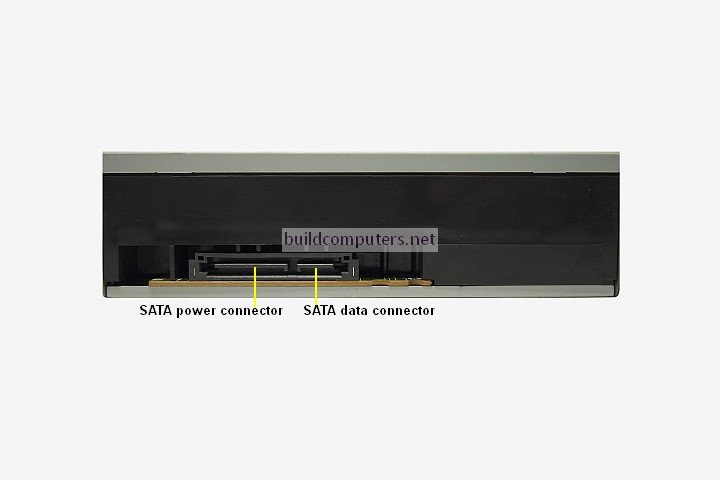
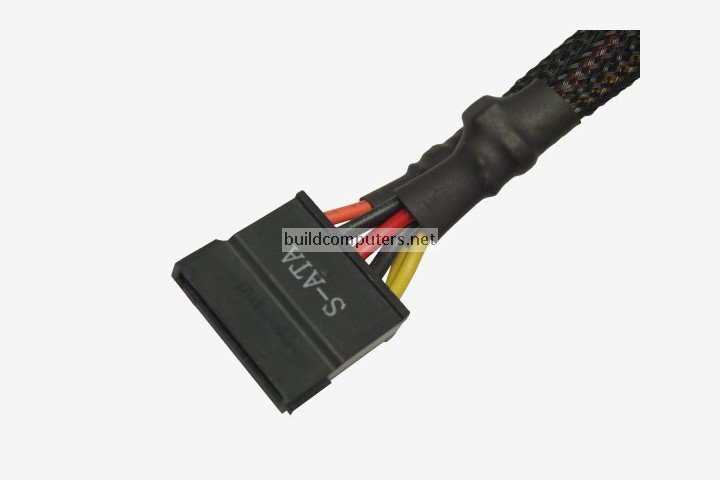
Connect a SATA power cable (see image below) from the power supply unit to the DVD drive's power connector.
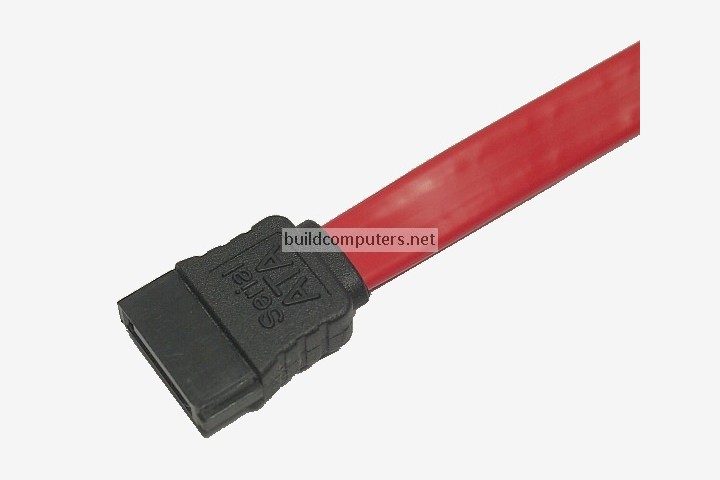
Connect one end of a SATA data cable to the DVD drive's data connector. Here's how a SATA data cable looks like:
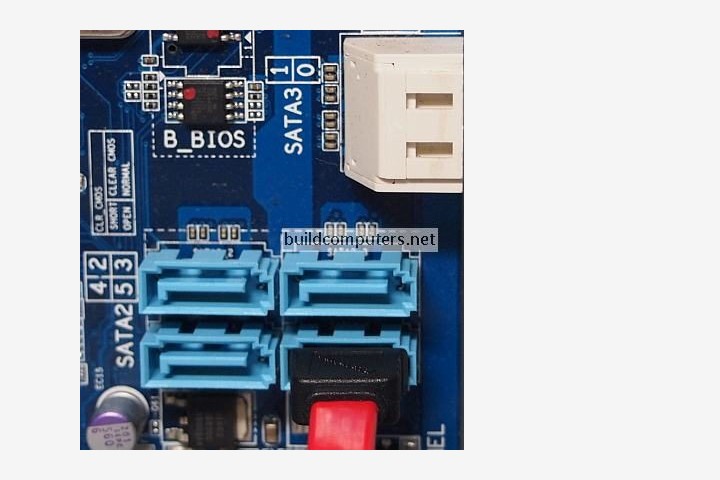
Plug the other end of the SATA data cable into a SATA 2 connector on your motherboard (see image below). SATA 2 connectors are often labelled as SATA2 or SATA_3G on a motherboard:
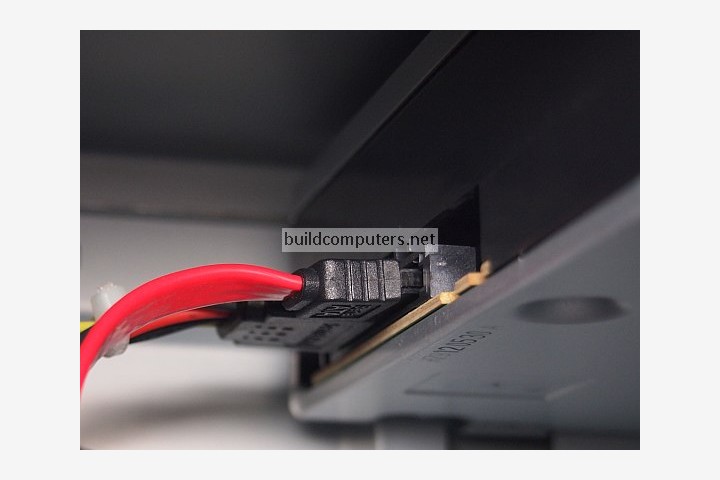
Once you are done installing a DVD drive, it should end up looking like this:
HOW TO BUILD A COMPUTER
- Should I Buy or Build a PC?
- Parts to Build a Computer
- Installing a CPU Processor
- Installing a CPU Fan
- Installing RAM Memory
- Installing a Motherboard
- Installing a Power Supply
- Power Supply Connectors
- Installing a Hard Drive
- Installing a DVD Drive
- Installing a Graphics Card
- Computer Cable Management
- Computer Cable Connections

